

Tutorial 5: How to make vignettes with Repligator
(You may like to print this tutorial (see under the File menu of this window), it is about 2 A4 pages long)
You will learn in this tutorial how to make sepia and blue china vignettes:
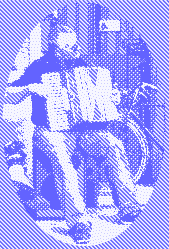
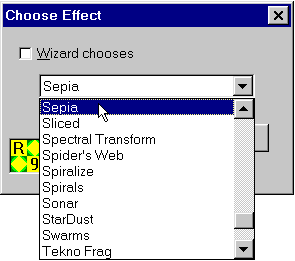
Step 1) Open the image file ![]() and choose Sepia in the choose effect dialog:
and choose Sepia in the choose effect dialog:
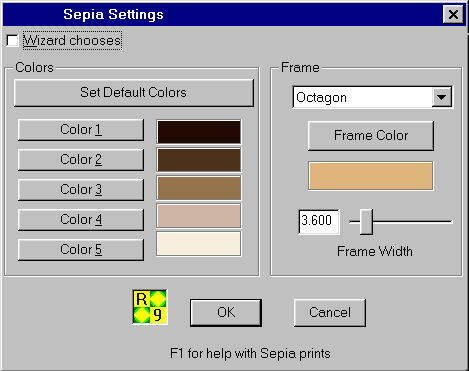
Step 2) Click on OK and the Sepia dialog will pop up:
 .
.
Step 3) Switch off the Wizard option (top left check box in the above image) and choose what sort of frame (octagon, rectangle, oval) you'd like. Also choose also the frame width, which is a % of the diagonal width of the image. Now click on OK and a sepia vignette version of your original image will be created:
Step 4) If you now double click on the image, or push the F9 key,
or click on the ![]() icon. The Sepia
dialog will appear again and you can choose different frame or frame width options.
icon. The Sepia
dialog will appear again and you can choose different frame or frame width options.
Step 5) Now we will have a look at the Blue China effect of Repligator
for making vignettes. Push the F6 key, or click on the ![]() icon to choose an effect. Select Blue China from the list and click on OK. You
will see this dialog:
icon to choose an effect. Select Blue China from the list and click on OK. You
will see this dialog:
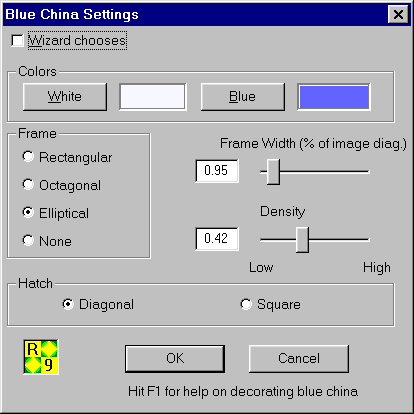
Step 6) As with the Sepia effect you should switch off the Wizard and make your own choices about the frame type and frame width. You can also choose the "density" of the effect, and whether the hatching is diagonal or square. Click on OK and a blue china vignette version of your image will be created:
Step 7) Click on ![]() or double click the image or push the F9 key, and the Blue China dialog box
will appear again so you can experiment with the settings.
or double click the image or push the F9 key, and the Blue China dialog box
will appear again so you can experiment with the settings.
Step 8) Remember that you can use these buttons ![]() ,
or the cursor keys on your keyboard, to go back and foward to previous versions
of the image you have created. You only need to save the images you really like.
,
or the cursor keys on your keyboard, to go back and foward to previous versions
of the image you have created. You only need to save the images you really like.
This is the last of the Repligator introductory tutorials. The help file contains lots of hints and tips and explanations, simply push F1 while you are working with Repligator to get answers to your questions!